Updating ownCloud with the Updater App
The Updater app automates many of the steps of updating an ownCloud installation. You should keep your ownCloud server updated and not skip any releases. The Updater app is enabled in your ownCloud Server instance by default, which you can confirm by looking on your Apps page.
The Updater App is not required, and it is recommended to use other methods for keeping your ownCloud server up-to-date, if possible. (See Upgrading Your ownCloud Server.) The Updater App is useful for installations that do not have root access, such as shared hosting, and for installations with a smaller number of users and data.
If you installed ownCloud from the openSUSE Build Service repositories or your own Linux distribution repositories, then it is best to upgrade ownCloud using your package manager rather than using the Updater app or upgrading manually. See the Upgrading Your ownCloud Server for instructions on maintaining your ownCloud server from packages and upgrading manually.
You should always maintain regular backups (see Backing up ownCloud), and make a backup before every update/upgrade. The Updater app does not backup your database or data directory.
The Updater app performs these operations:
- Creates a backup directory under your ownCloud data directory
- Download and extracts updated package content into the backup/packageVersion directory
- Makes a copy of your current ownCloud instance, except for your data directory, to backup/currentVersion-randomstring
- Moves all directories except data, config and themes from the current instance to backup/tmp
- Moves all directories from backup/packageVersion to the current version
- Copies your old config.php to the new config/ directory
Using the Updater app to upgrade your ownCloud installation is just a few steps:
- You should see a notification at the top of any ownCloud page when there is a new update available:

- Even though the Update app backs up important directories, you should always have your own current backups (See Backing up ownCloud for details.)
- Verify that the HTTP user on your system can write to your whole ownCloud directory; see Setting Strong Permissions.
- Navigate to your ‘Admin’ page and click the ‘Update Center’ button under Updater:
- This takes you to the Updater control panel.
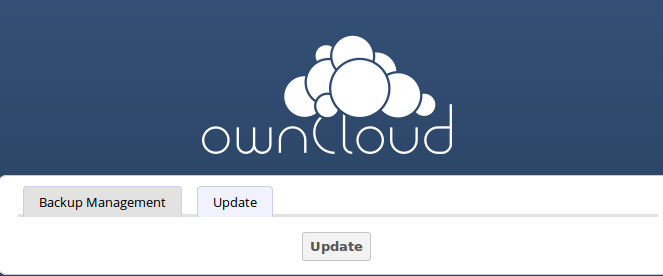
6. Click Update, and carefully read the messages. If there are any problems it will tell you. The most common issue is directory permissions; see Setting Strong Permissions. Otherwise you will see a message about checking your installation, making a backup, and moving files:
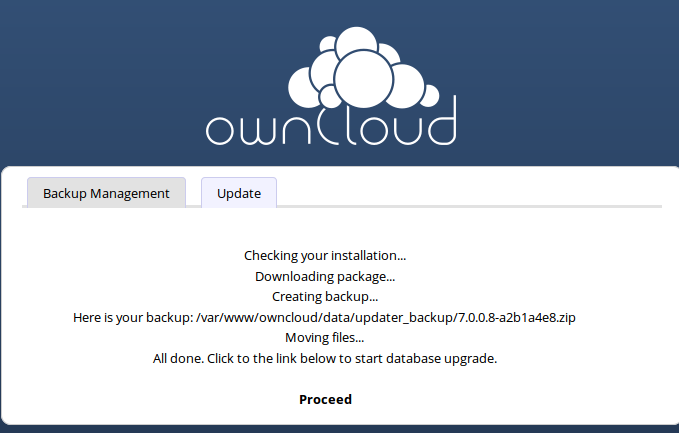
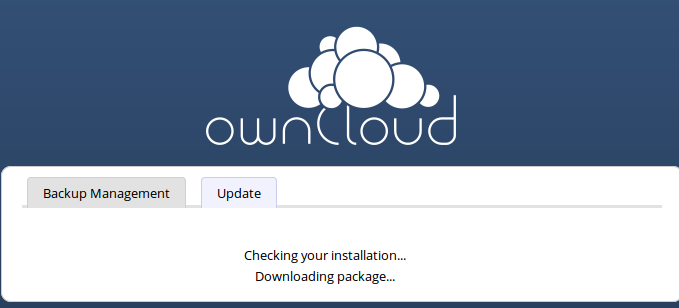
- Click Proceed, and then it downloads the updates, which may take a few minutes:
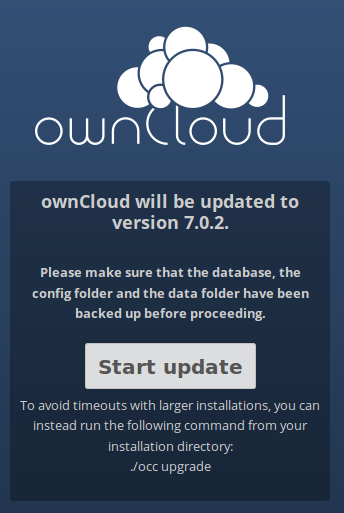
- The Update app wants you to be very sure you want to update, and so you must click one more button, the Start Update button:
Note
If you have a large ownCloud installation, at this point you should use the occ upgrade command, running it as your HTTP user, instead of clicking Start Update, in order to avoid PHP timeouts. This example is for Ubuntu Linux:
$ sudo -u www-data php occ upgrade
See Using the occ Command to learn more about using the occ command.
- It works for a few minutes, and when it is finished displays a success message, which disappears after a short time.
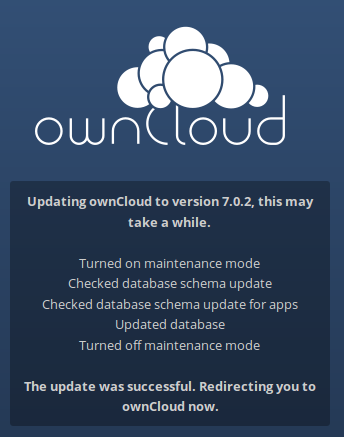
Refresh your Admin page to verify your new version number.
If the Updater app fails, then you must update manually. See Upgrading Your ownCloud Server to learn how to upgrade manually.
Setting Strong Permissions
For hardened security we highly recommend setting the permissions on your ownCloud directory as strictly as possible. These commands should be executed immediately after the initial installation. Please follow the steps in the Setting Strong Directory Permissions section of Installation Wizard.
These strict permissions will prevent the Updater app from working, as it needs your whole ownCloud directory to be owned by the HTTP user. The generic command to change ownership of all files and subdirectories in a directory to the HTTP user is:
chown -R <http-user>:<http-user> /path/to/owncloud/
This example is for Ubuntu 14.04 LTS server:
chown -R www-data:www-data /var/www/owncloud
Arch Linux:
chown -R http:http /path/to/owncloud/
Fedora:
chown -R apache:apache /path/to/owncloud/
openSUSE:
chown -R wwwrun:www /path/to/owncloud/
After the Updater app has run, you should re-apply the strict permissions.